
I covered the basics of making a seed tape 10 years ago in this post. That info is still good but I've improved it here.
This is my favorite time of year to make seed tapes. I'm too busy with other things in the springtime. I want to put all my effort into the plants I'm starting under the grow lights. Plus, I prefer to go through my seed stash in the fall and buy the ones I need to replenish while they're on sale.
Why would you even want to go to the time and effort to make a seed tape? I'm all for saving time and energy, believe me! But, even more, I like to save money. Most of the seeds that I put on a tape are the ones that have to be thinned after planting. In this instance, I'll use radishes as an example.
We eat a lot of radishes. What we rarely eat is potatoes. Radishes are our replacement food for potatoes. Baked, boiled, mashed, fried, even the occasional hash brown is made from radishes. They're a staple here. Unlike potatoes that you plant one time and harvest multiple potatoes per seed, radishes have to be replanted at regular intervals, one radish per seed. In order to keep a steady radish supply, I plant them every two weeks throughout the growing season. I can save some of the end-of-the-season plants for seeds but it's a waste of space to save some at every planting. So I buy a variety of radish seeds.
The directions for radish planting call for even spacing and then thinning when they emerge. I think it's more efficient to plant a tape and forgo the thinning. Not only does it save money on wasted plants, but it saves some wear and tear on my body- no bending over to thin the plants!
To make a seed tape, you'll need the following supplies:
Corn Starch
Food Coloring (optional)
Cheap toilet Paper (the thinner, the better)
A measuring device- yard stick or tape measure
Here's the step-by-step directions:

2. Read your seed instructions to find the spacing requirements. I'm not planning on thinning so I use the final measurement.

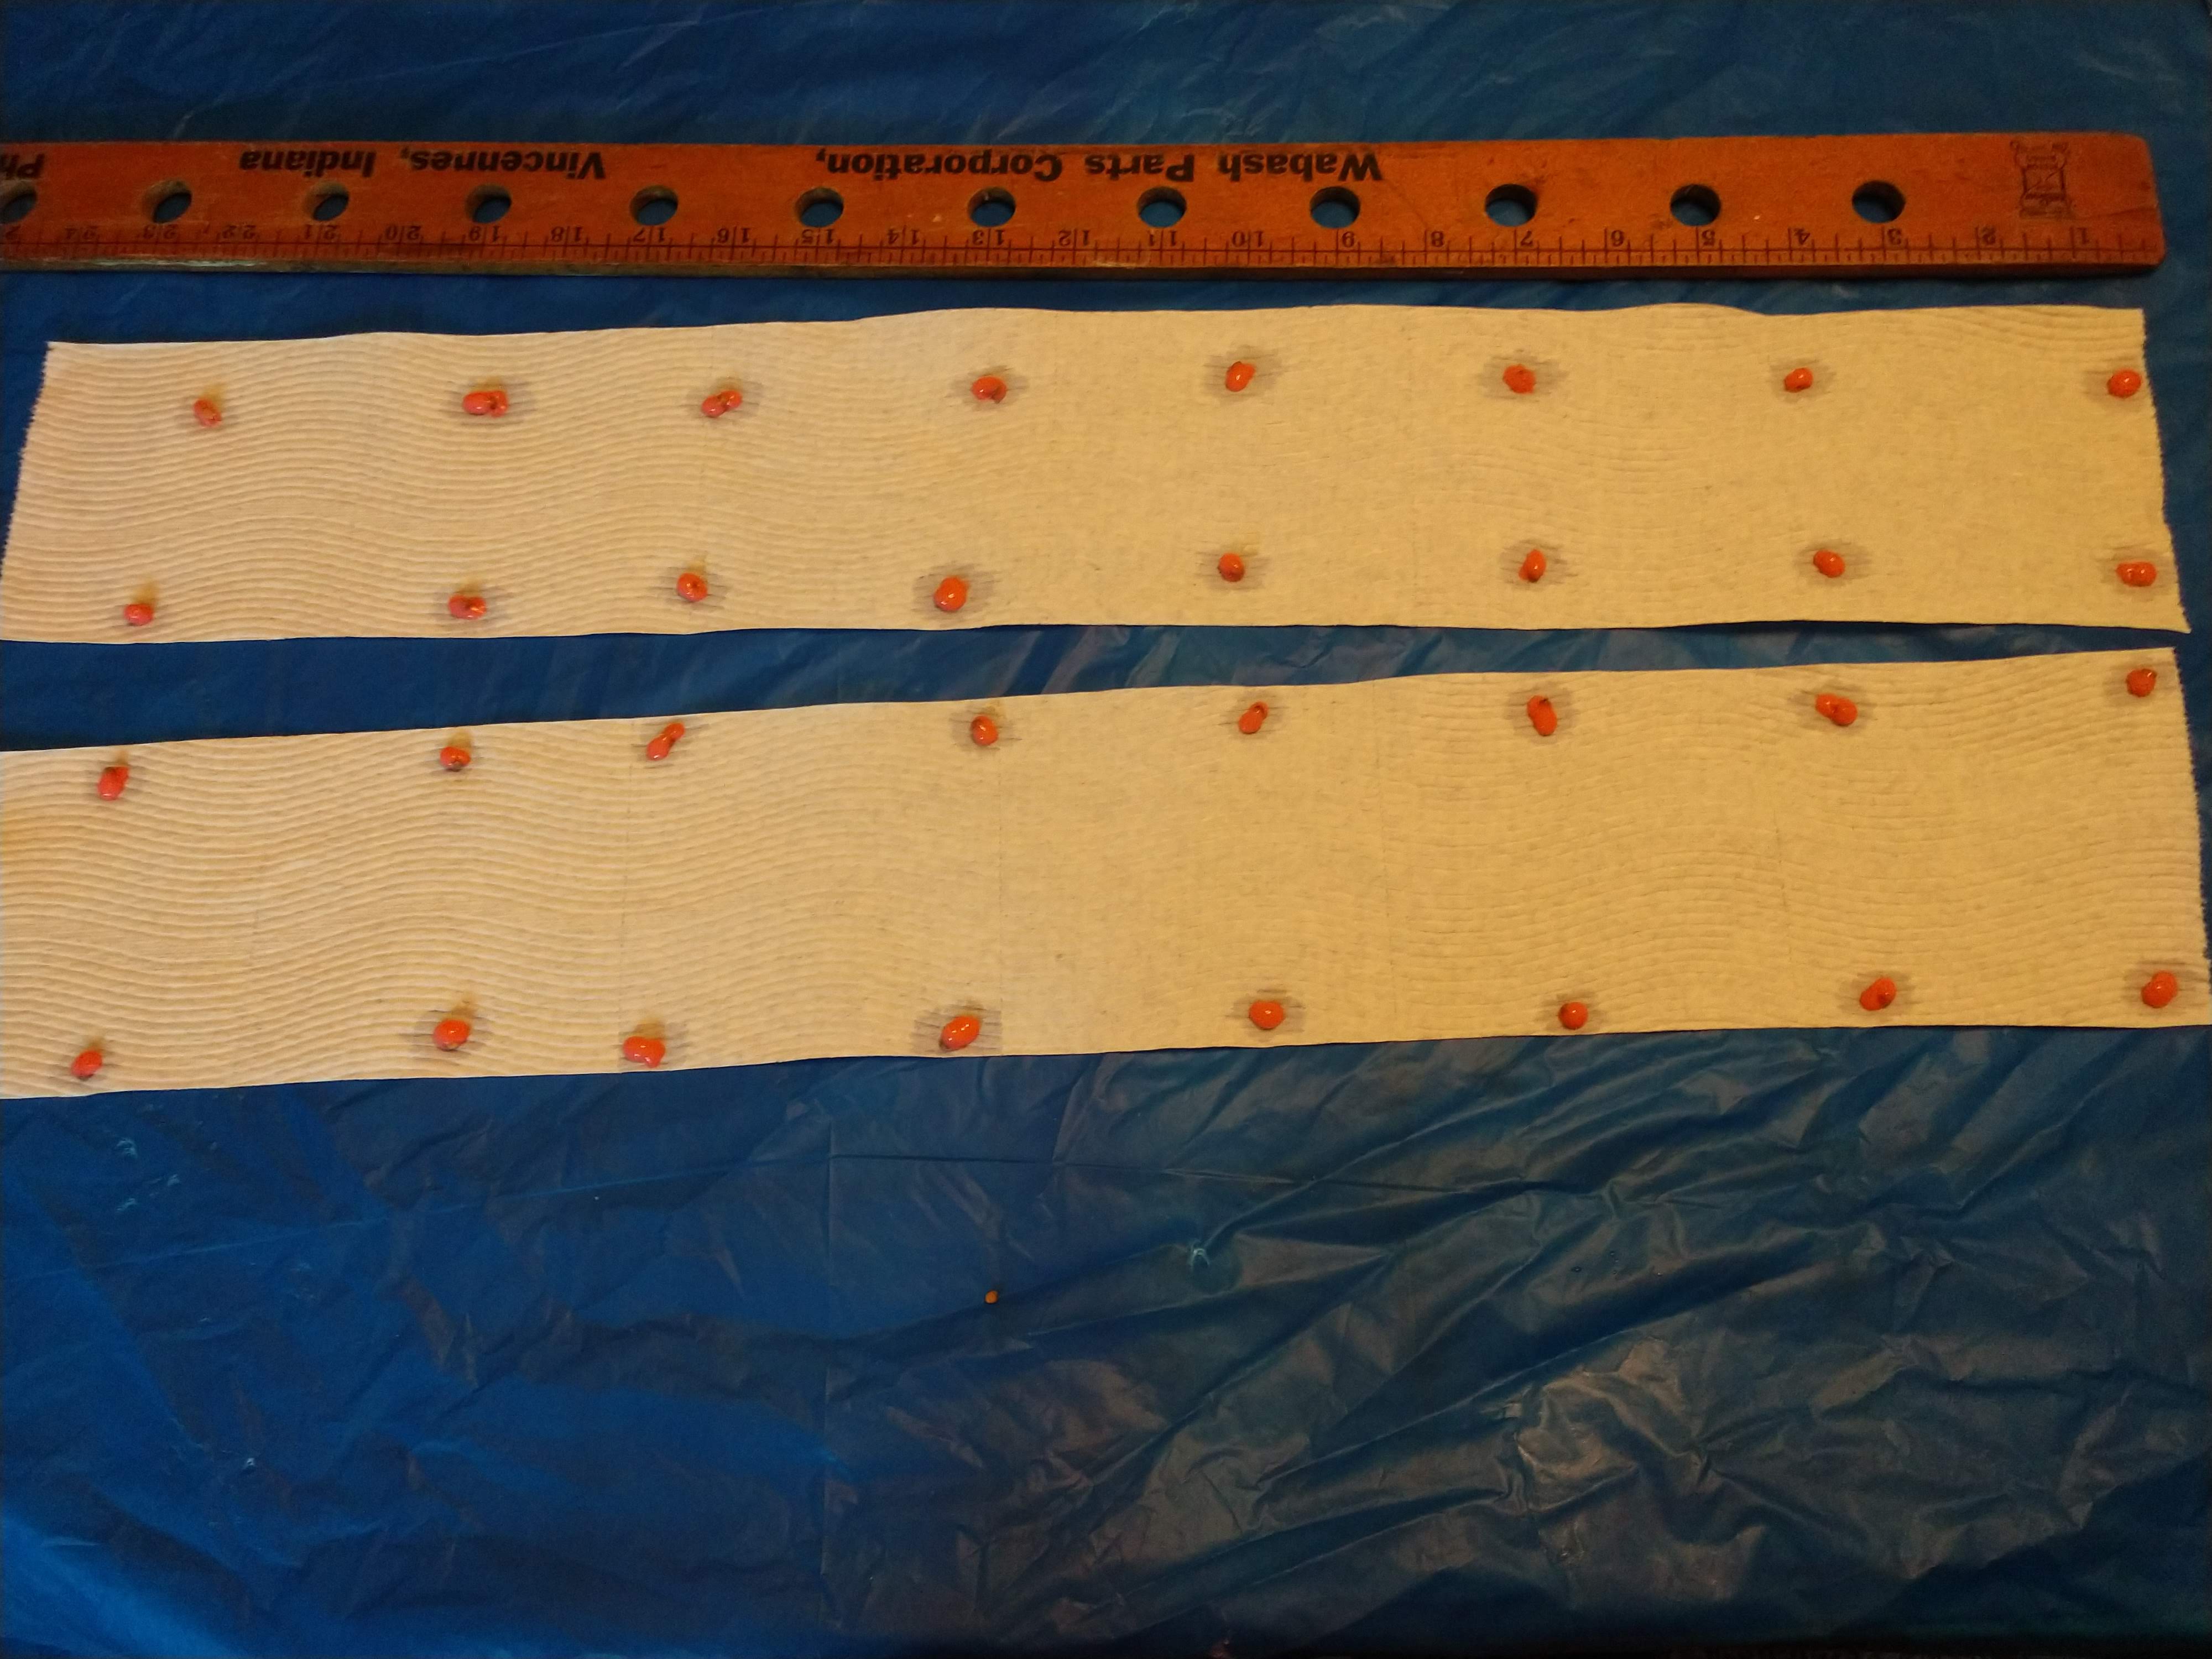
3. Lay out the length of toilet paper beside a yard stick or measuring tape.

4. Using a syringe (I get mine at the farm store in the livestock medicine department) put a tiny blob of the paste at desired intervals on the length of toilet paper. Putting the blobs on the edges makes it easy to do 2 tapes at once, just cut down the middle when done.

5. Drop a seed into each blob of the paste. Use a toothpick to submerge the seed. If needed, use the syringe to cover the seed with more paste to secure it.
Now all that's left to do is let it dry. This will take a couple days depending on humidity. I like to save my paste until it's finished just in case a seed decides to drop off as the paste shrinks down. When it's done, I'll cut it down the middle and roll it up into a seed envelope. Easy Peasy!